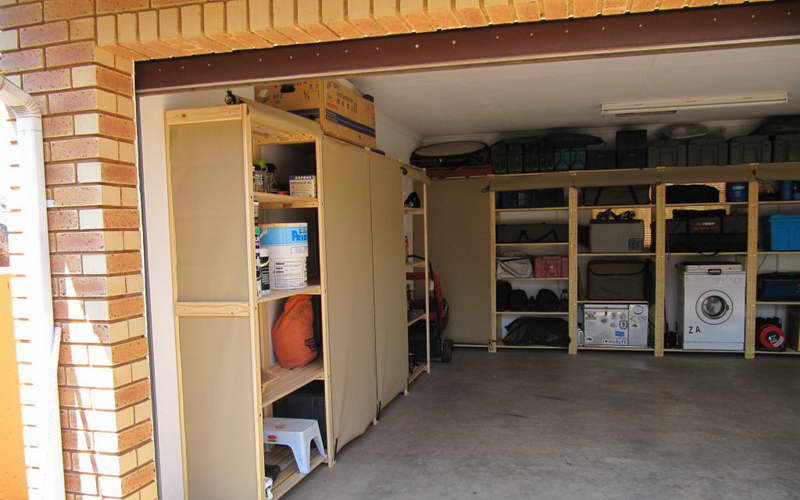
Building a Garage Storage Wall
Got a lot of stuff in your garage and no way to organize it? This article will show you how to build simple and inexpensive shelving to hold plastic storage containers that will organize your garage in one day.
Build and assemble it quickly
Mark rail and leg parts after cutting your parts to length. (See Additional Information for a materials list and project illustration with measurements.)
Put the frame together
Mark rail and leg parts after cutting your parts to length. (See Additional Information for a materials list and project illustration with measurements.)
Working on top of a sheet of plywood helps keep each frame squared up. Use the edges of the plywood to line up and adjust things as you screw the frame together. It also really helps to pick the straightest lumber possible when you’re shopping.
Keep things square by assembling the frame on top of a piece of plywood.
Install the shelves
A helper makes installing the shelves a lot easier.
Installing the shelves in each frame is a lot easier if you have a helper to hold the frames. If you’re working alone, lean one of the frames against the wall and hold up the other frame while you screw the first shelf into place.
Screw the unit to the wall
Screw each unit to the wall through the top rail using construction screws (GRK is one brand) spaced every second or third stud. This shelf unit is really sturdy. But make it ultra secure by screwing the units together through the front legs. Shim the legs if your floor is sloped or uneven.
Screw the unit to the wall through the top rail every second or third stud to make it very stable.
Install the middle cleats for the sliding bins
To avoid stacking the small bins on top of one another, hang the top bins from cleats. Installing the cleats goes really fast if you start your screws in each cleat first and then use a spacer to mark the cleat’s location as you screw it on.
Hanging the bins from cleats means you don’t have to stack them on top of each other and you can easily slide them in and out.
Required Tools for this Project
Have the necessary tools for this DIY project lined up before you start—you’ll save time and frustration.
- Cordless drill
- Framing square
- Tape measure


Recent Comments